Novo Recurso _ Equipamento Online
No exemplo a seguir, vamos criar um novo recurso com CFW300. As janelas poderão ser diferentes se forem configurados outros equipamentos.
CFW300
1) Botão/Item de Menu "Novo Recurso"
No menu Arquivo, clique em Novo Recurso.

Você também pode utilizar o atalho do teclado (Ctrl+Shift+R) ou o botão Novo Recurso da Barra de Ferramentas:![]()
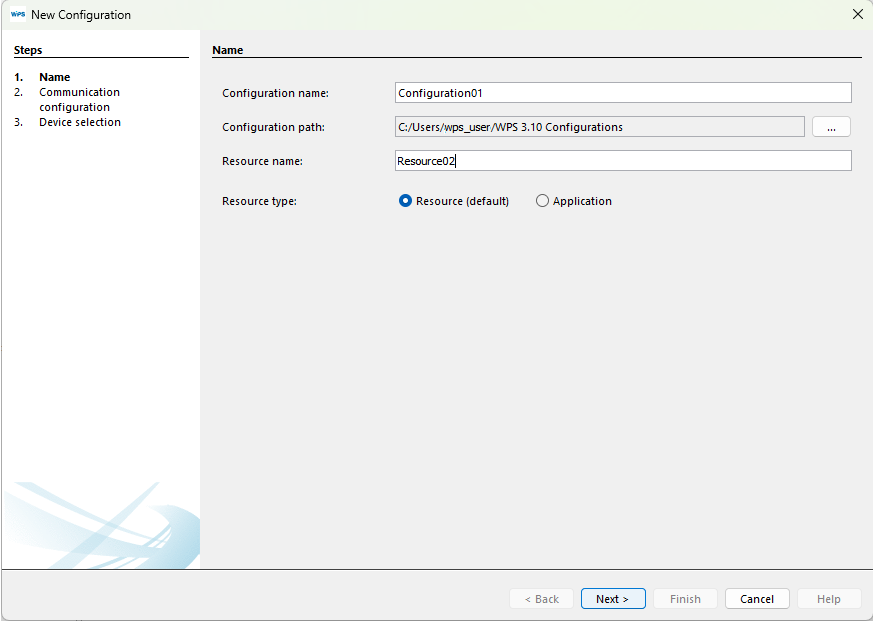
2) Janela "Nova Configuração"
Aparecerá uma janela para inserção do nome da configuração e do primeiro recurso a ser criado. Insira os nomes nos respectivos campos e clique em Próximo.
3) Configuração da Comunicação
A próxima janela define as opções de comunicação com o equipamento.
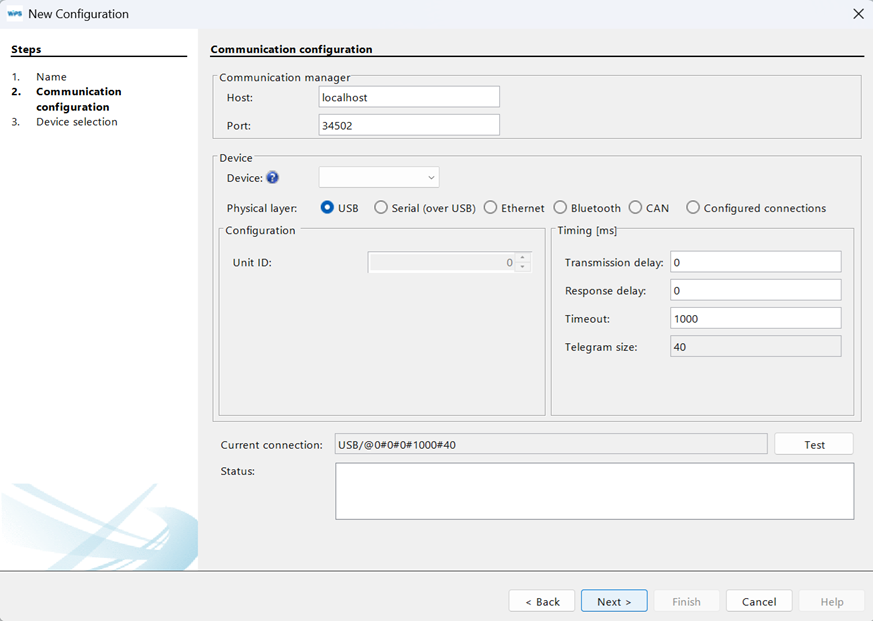
4) Seleção das Opções de Comunicação
Escolha as opções corretas de comunicação. Se você selecionar um equipamento, a configuração padrão de comunicação do equipamento será carregada na janela. Verifique se a configuração da janela é igual à do equipamento; caso contrário, atualize_a conforme necessário.
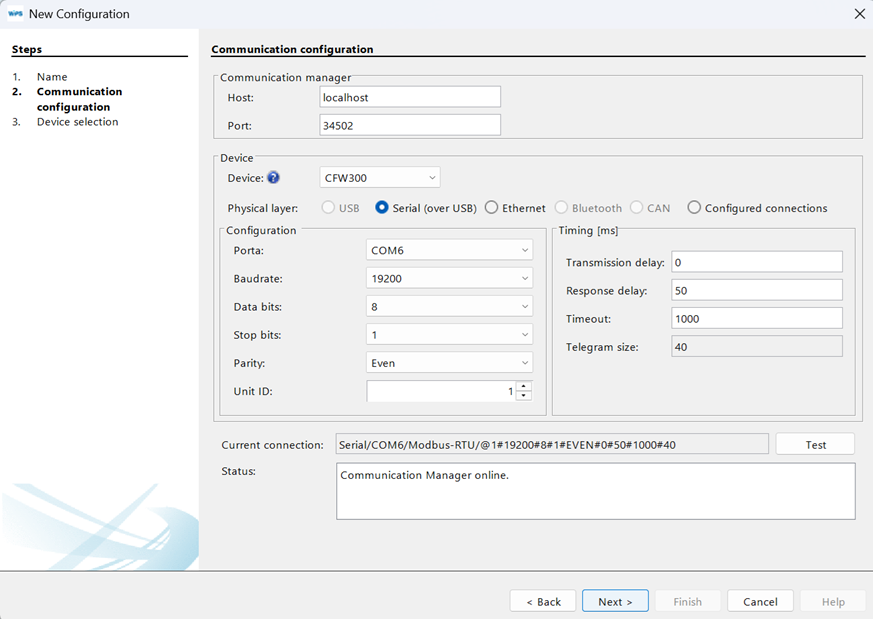
ℹ️ Nota: Neste exemplo, o acessório CFW300-CUSB está sendo utilizado, que no Windows aparece como uma porta serial USB (porta COM virtual); Quando o cabo é conectado no microcomputador/equipamento, o Gerenciador de Dispositivos do Windows informa o nome da porta serial USB criada.
5) Testando a Comunicação
Você pode verificar se a comunicação está correta clicando no botão Testar desta janela. O campo Estado é atualizado; o equipamento conectado aparece como estado.
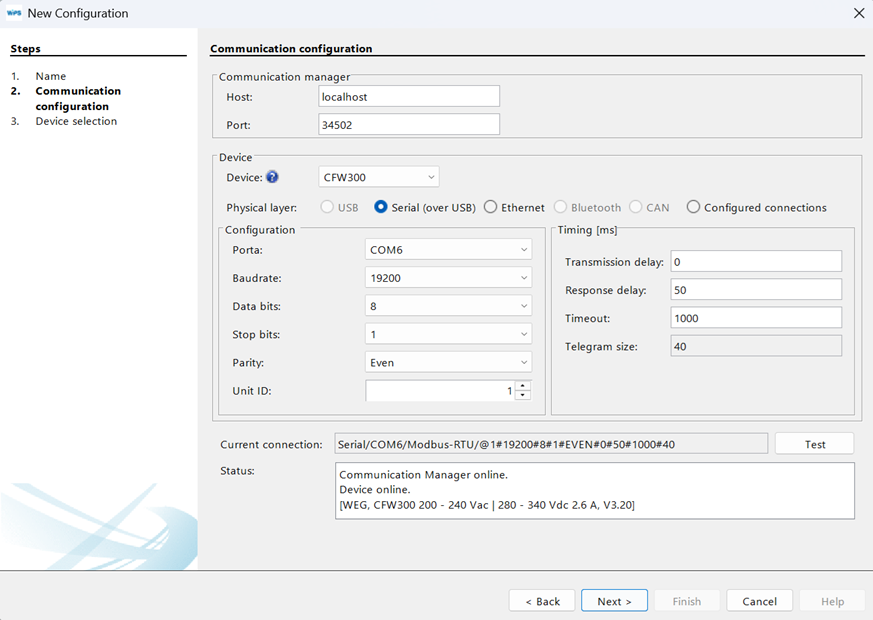
Em seguida clique em Próximo.
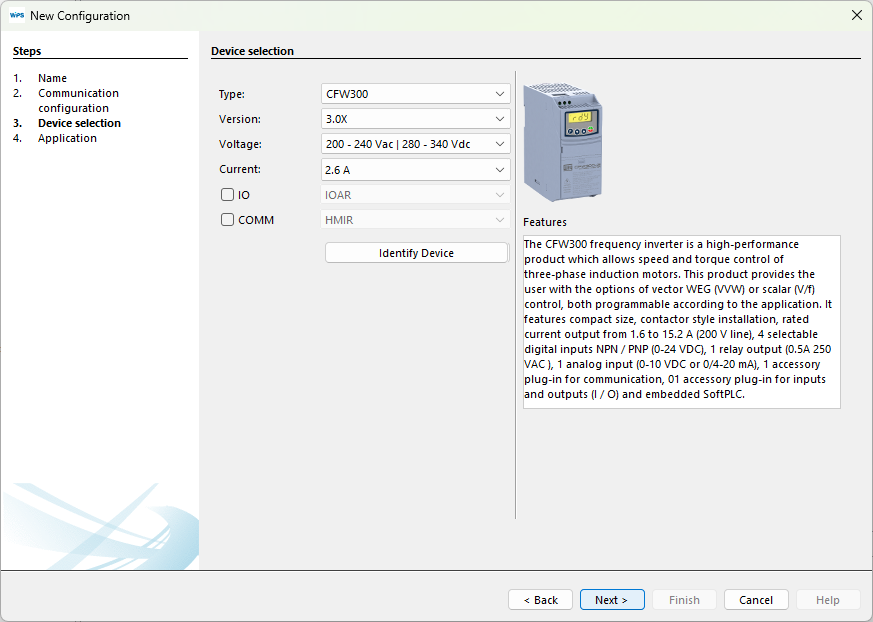
6) Seleção do Equipamento
A janela apresenta o equipamento que está associado ao recurso criado. Para ir para a próxima etapa, clique em Próximo.
7) Importar do WLP
Uma nova janela permite importar um projeto Ladder do CFW100 desenvolvido no WLP (WEG Ladder Programmer).
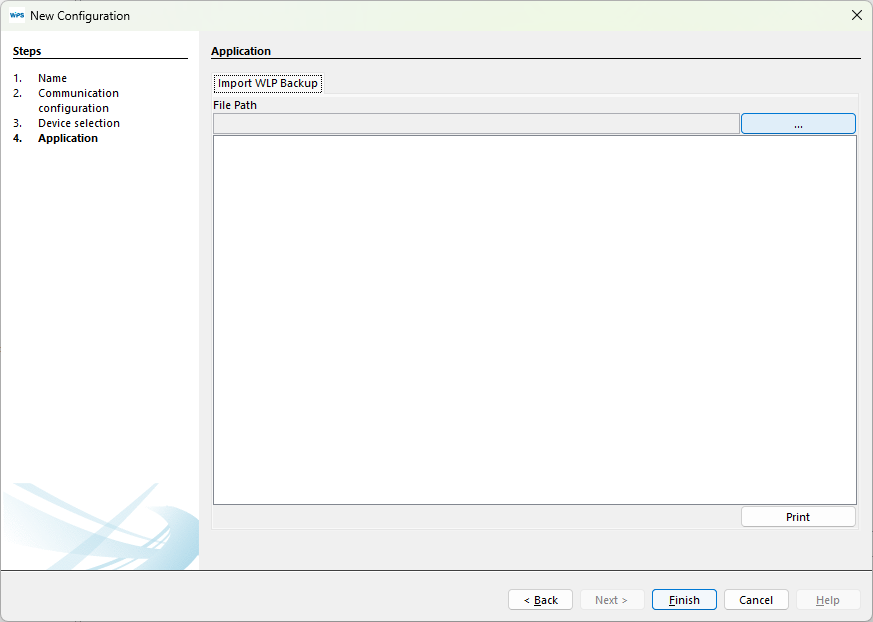
Clique em Finalizar para concluir o assistente.
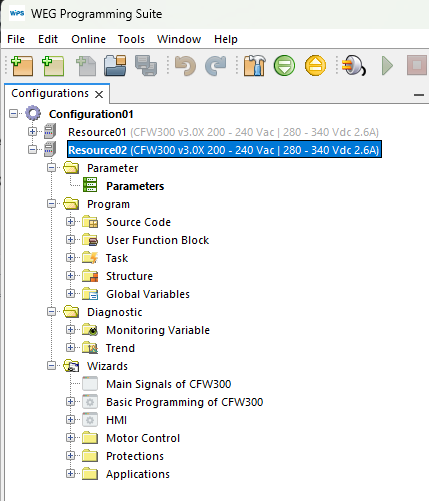
8) Árvore de Configurações
Ao fim destes passos, a árvore com as configurações deve estar parecida com a da imagem a seguir.
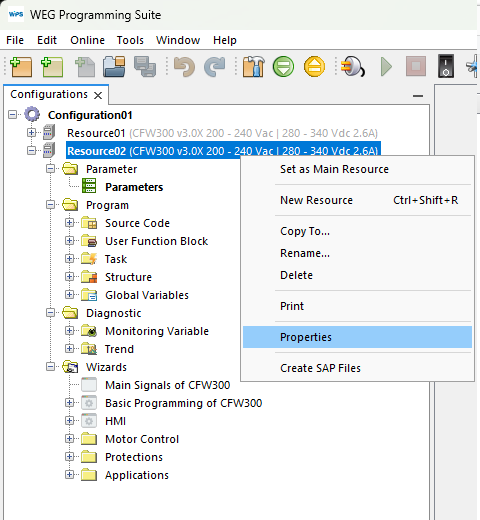
9) Propriedades do Recurso
As configurações realizadas no setup podem ser alteradas posteriormente em Propriedades do Recurso.
Nota: Dependendo do equipamento, novas janelas podem aparecer a partir deste passo, com configurações iniciais e start‑ups orientados.