|
Configuration |
  
|
|
Configuration |
|
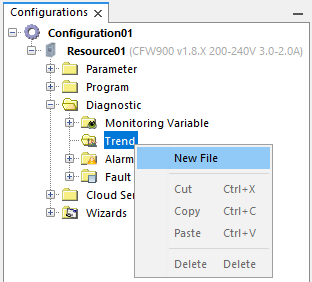
Below is a list of the necessary steps to create a trend configuration.
| 1. | Creation of a new trend file. |
| 2. | Addition and configuration of the channels on the |
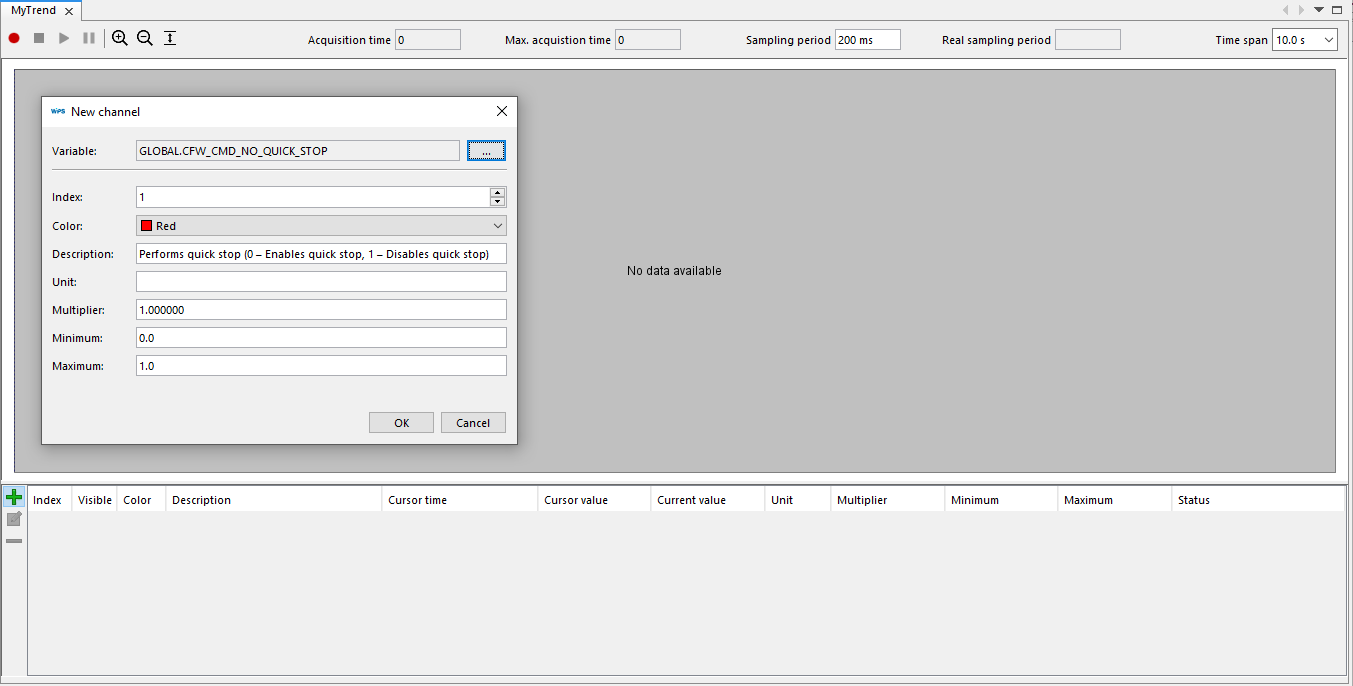
| 3. | After adding the channel, click on Connect Device |

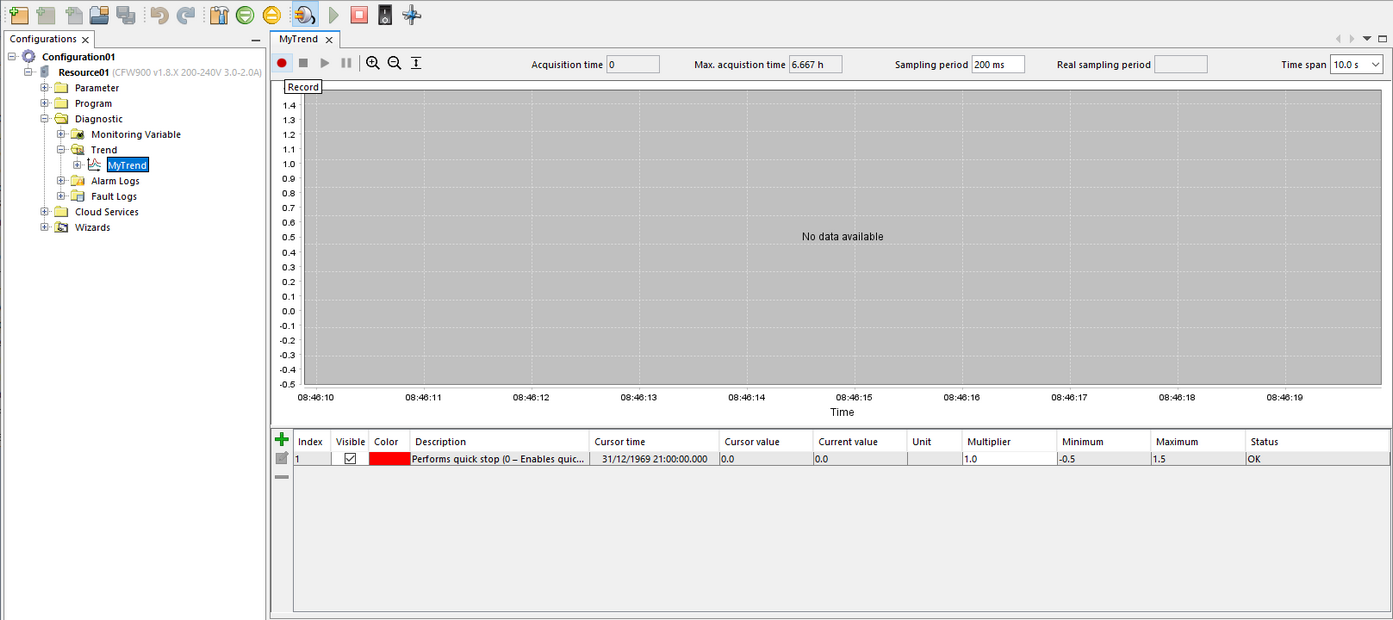
4. Click Record as shown below to start reading data:
5. While acquiring, it is possible to activate the commands indicated in the situations "A" and "B" as shown below:
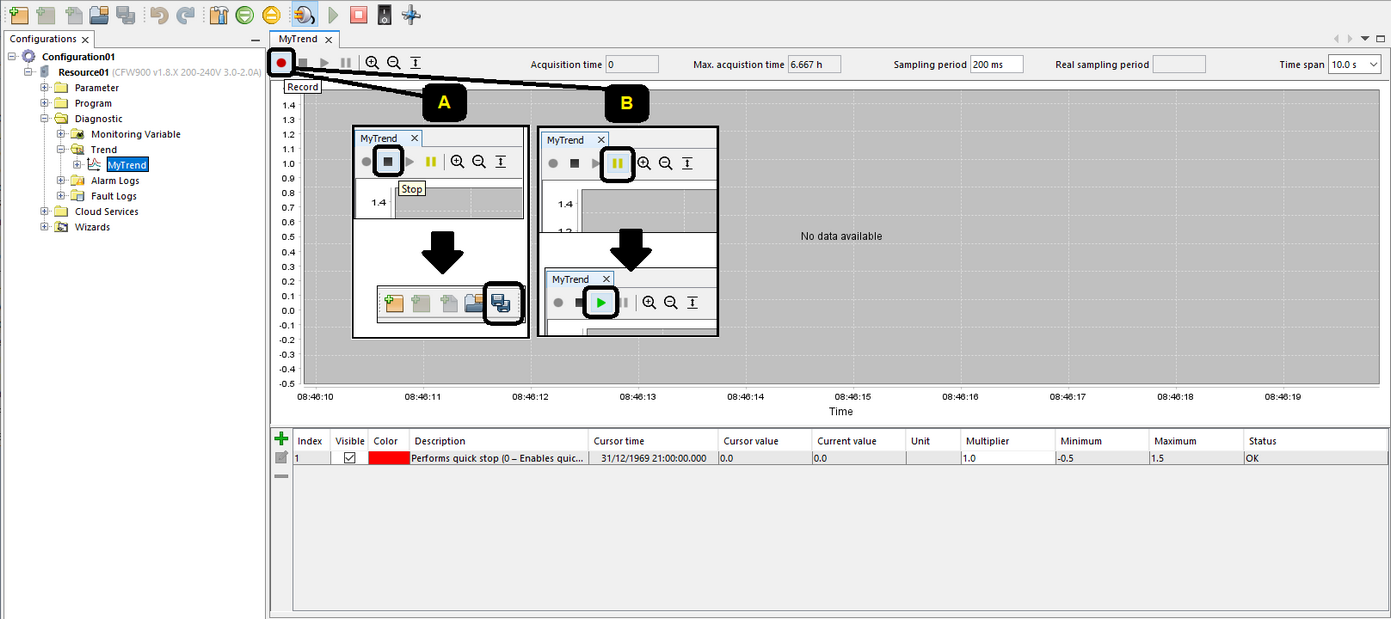
| • | A: To stop data acquisition, press the Stop button. |
Then press the button to Save the data read in the resource.
| • | B: To pause the presentation of data being acquired, press the Pause button. |
Then press the green button to resume showing the data being acquired. It is also possible to interrupt the acquisition (as presented in the item "A").
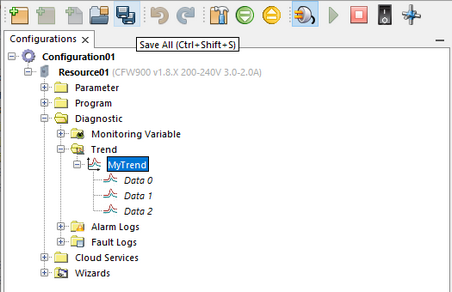
6. After the acquisition is complete, it is possible to store the waveforms using the Save All button ![]() :
:
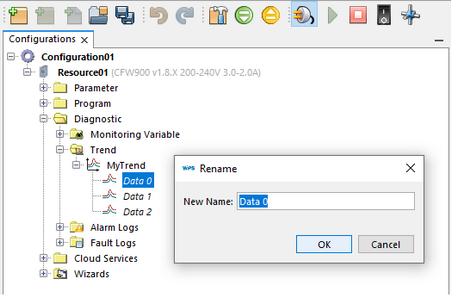
7. It is possible to rename the files:
|
NOTE! Considering the example above, if there are changes to the Trend file, such as deleting or adding channels, it may affect the saved data (Data 0, Data 1 and Data 2 files). |