|
Configuration |
  
|
|
Configuration |
|
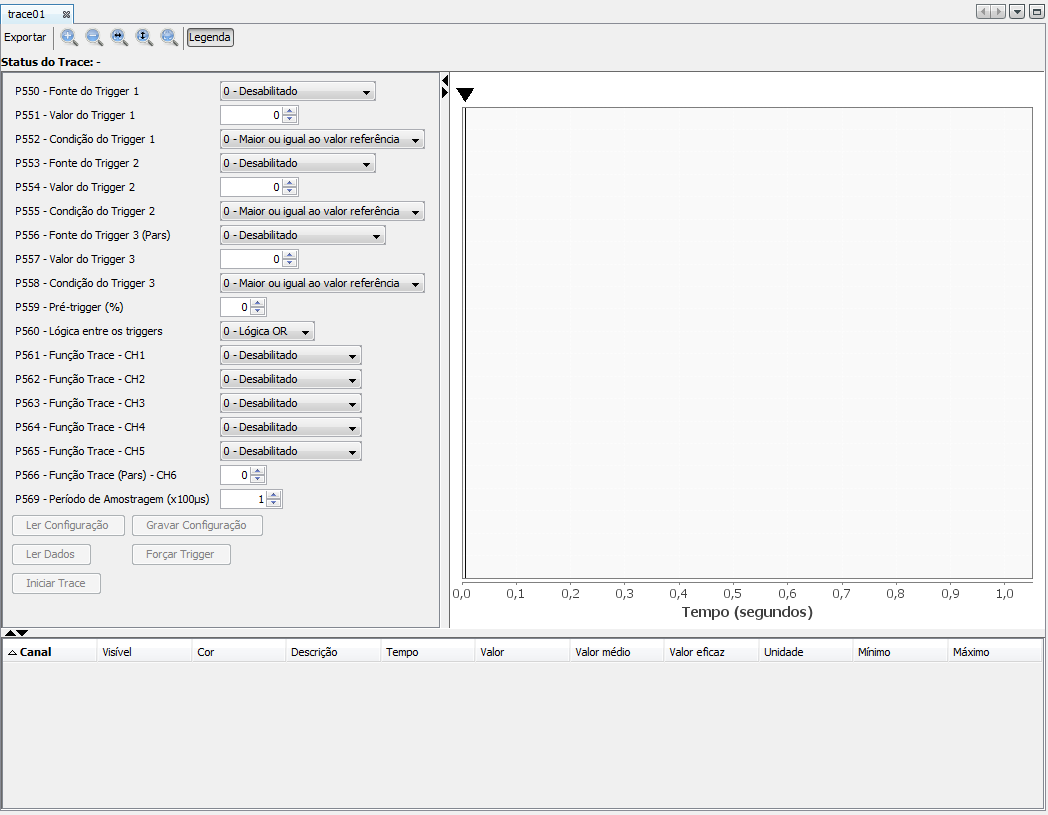
Below is a list of the necessary steps to create a trace configuration:
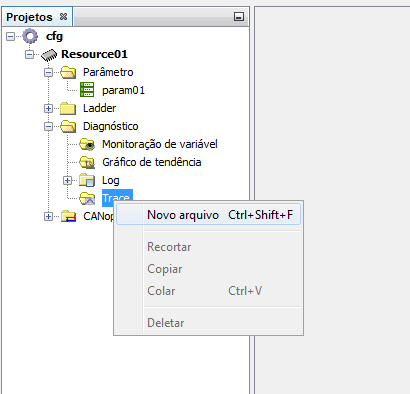
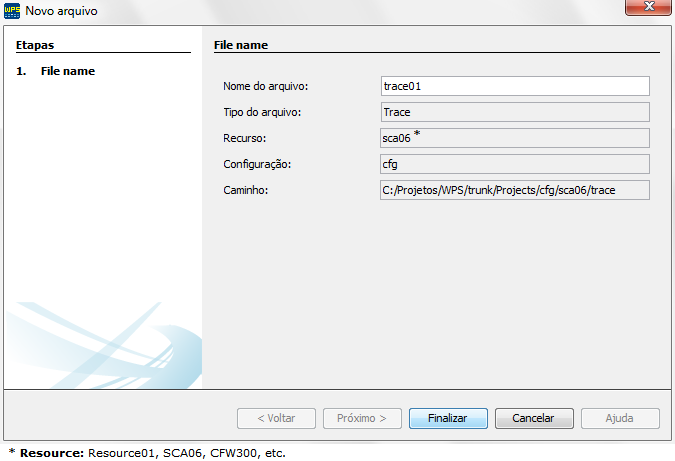
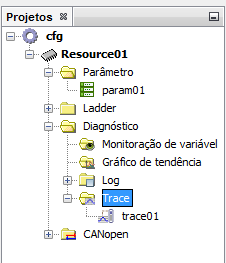
1. Creation of a new trace file.
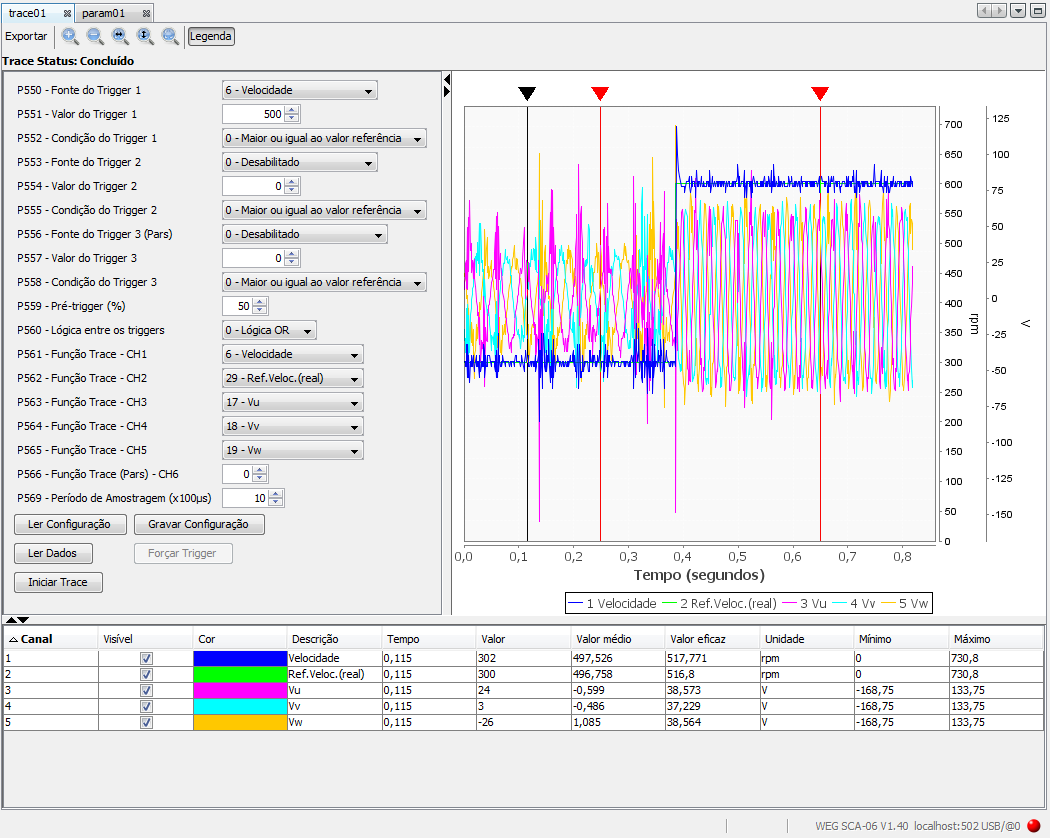
2. After the creation of the trace file, it is necessary to set the desired configurations in the part of parameters.
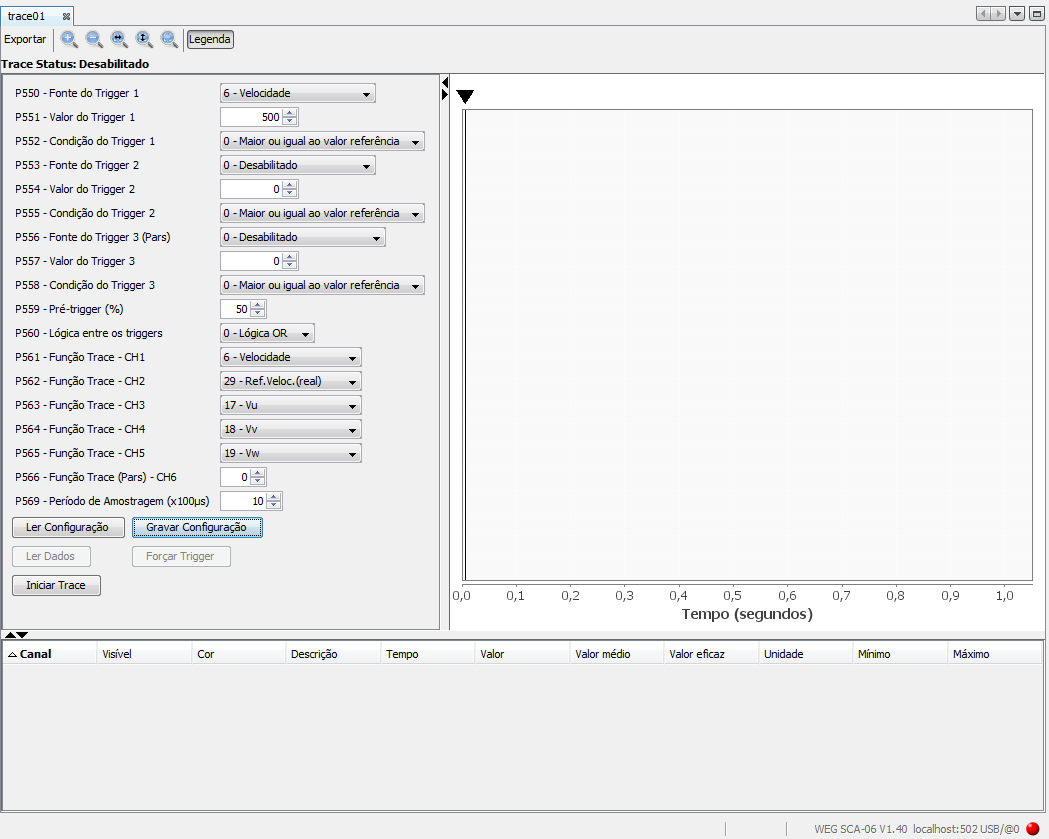
3. After making the desired configurations, just click on save configuration to send them to the equipment. Notice that it is necessary to be connected to the equipment with the option Connect Device of the WPS.
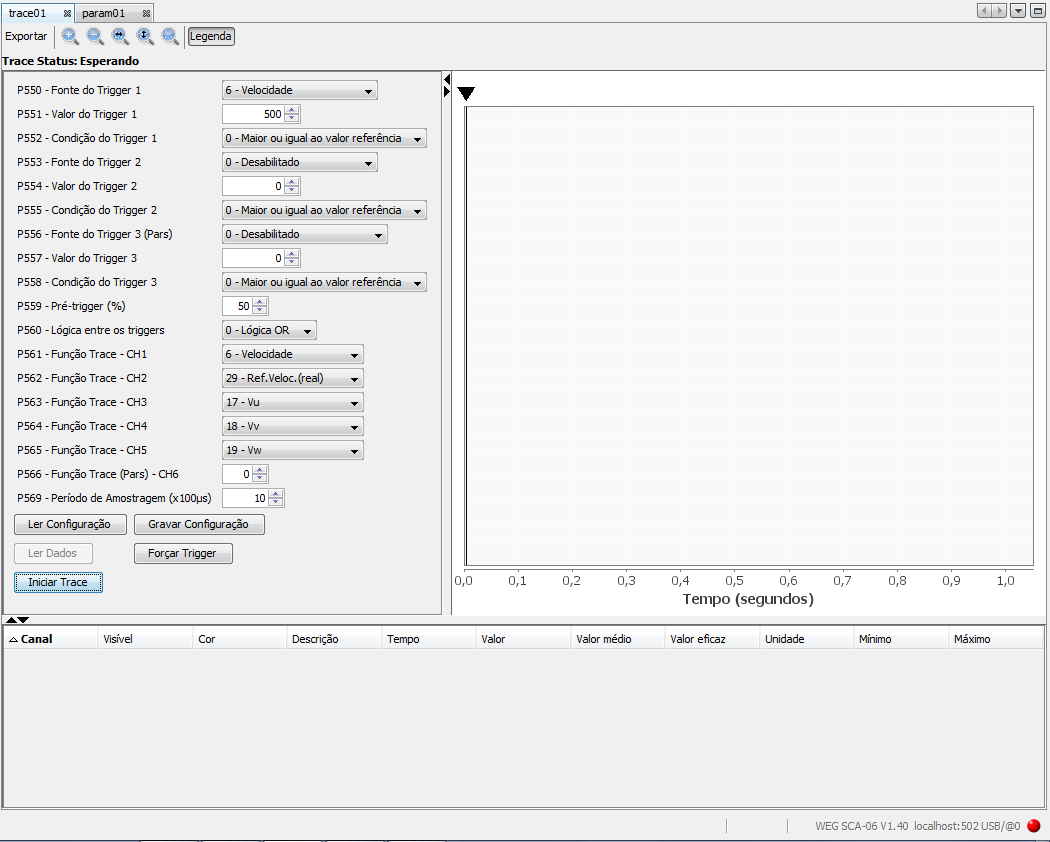
4. After the configurations are saved, just click on Start Trace. Notice that the status of the trace function changed to Waiting, that is, the tool is now waiting for the trigger execution to set the graphic and show the trace values.
5. After trigger occurs, the graphic and the values will be shown in the table and the trace function status will be Concluded.
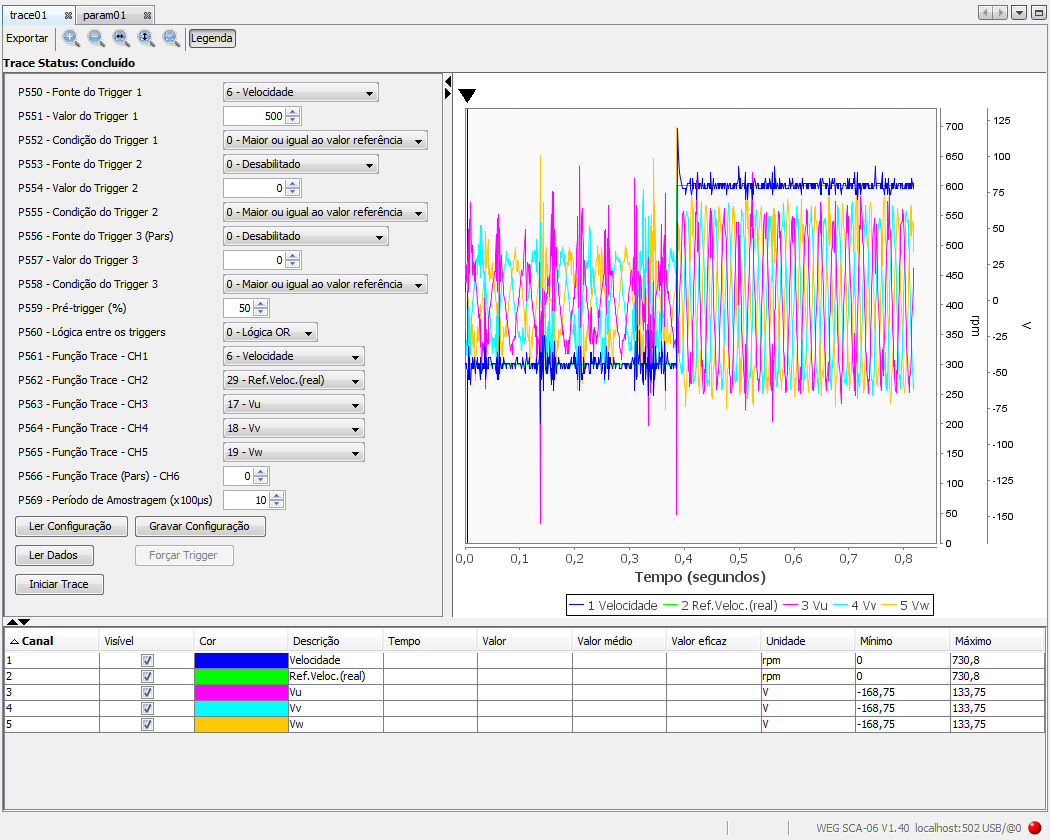
6. If you wish, you can click on the black cursor of the graphic and add fixed cursors so that the calculation of the average and effective values will be performed for the channels in the defined ranges.