|
Welcome Window |
  
|
|
Welcome Window |
|
This chapter contains some basic information so that you get familiar with the software.
We will start by the welcome window.
The welcome window appears when the program is started for the first time.
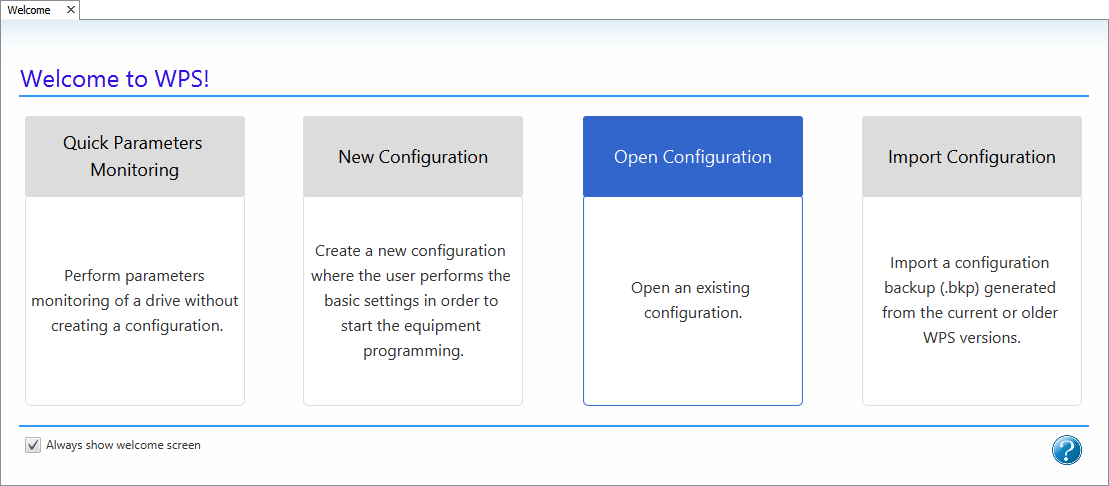
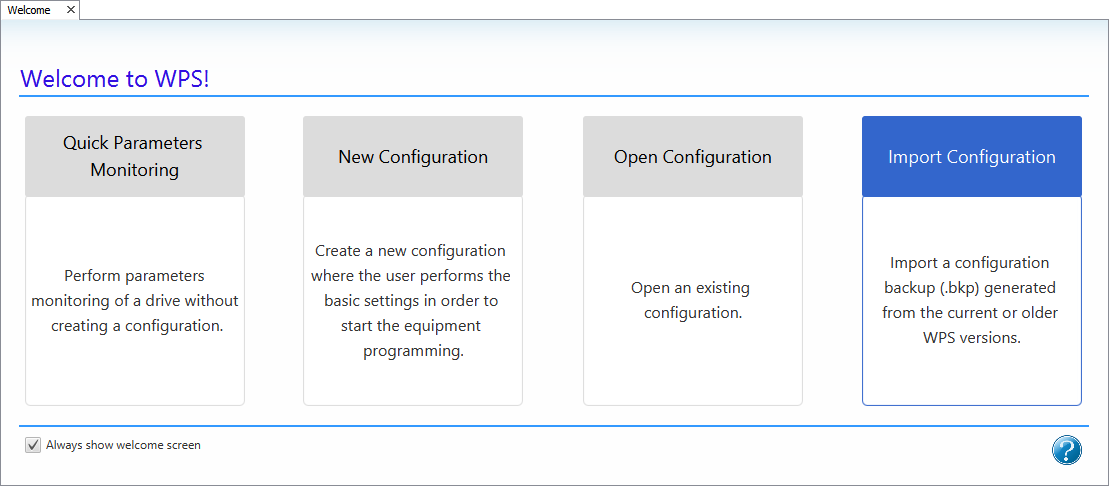
The following options are available in this window:
| • | Quick Monitoring of Parameters |
| • | New Configuration |
| • | Open Configuration |
| • | Import Configuration |
There is also one more option, Always display welcome window, which will be explained below.
The user can also close this window without selecting any of the options and use his/her own working methodology.
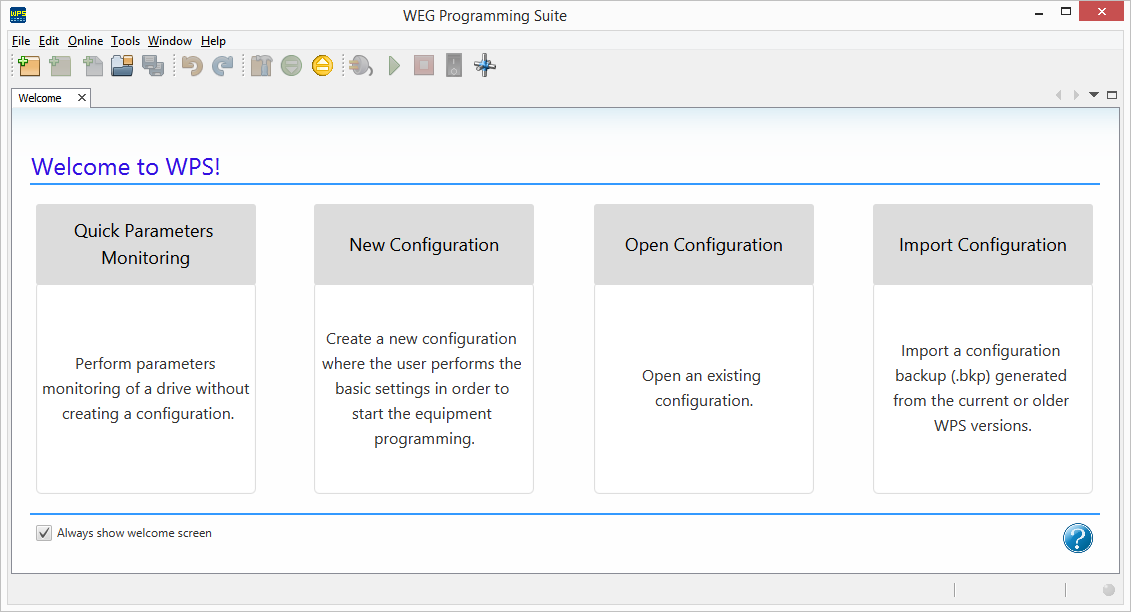
The following figure shows the WPS welcome window.
Quick Monitoring of Parameters
The quick monitoring of parameters allows viewing and changing the parameters online, but it is possible neither to create a new configuration, nor to save the parameters on the computer.
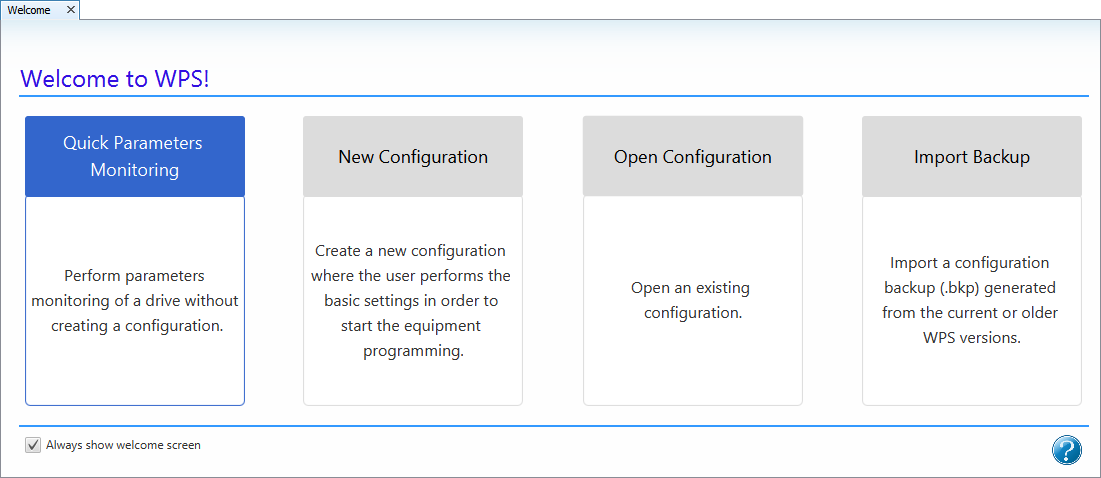
1) Function Selection
Click the option Quick Monitoring of Parameters.
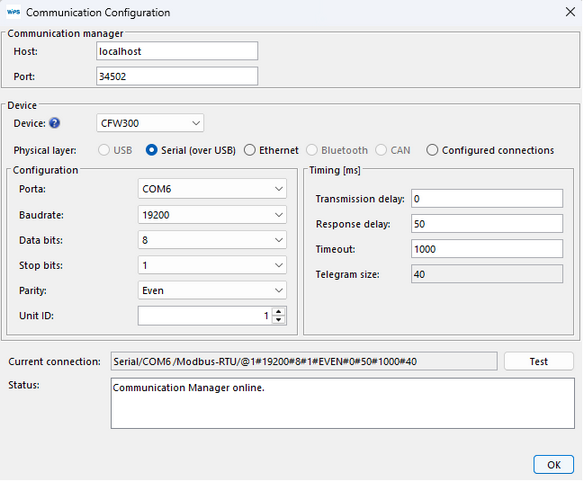
2) Communication Configuration
The next window defines the options for communication with the equipment.

3) Select the Communication Options
Choose the correct communication options.
If you select one equipment, the default communication configuration of the equipment will be loaded to the window.
However, check that the window configuration is the same as of the equipment. If not, update this window according to the equipment configuration.
4) Testing the Communication
You can check if the communication is correct by clicking the Test button in this window.
The field is refreshed. The connected equipment appears in the status field.
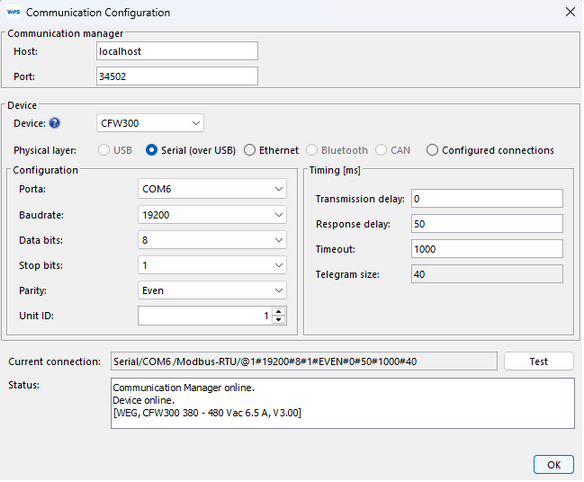
Then click OK.
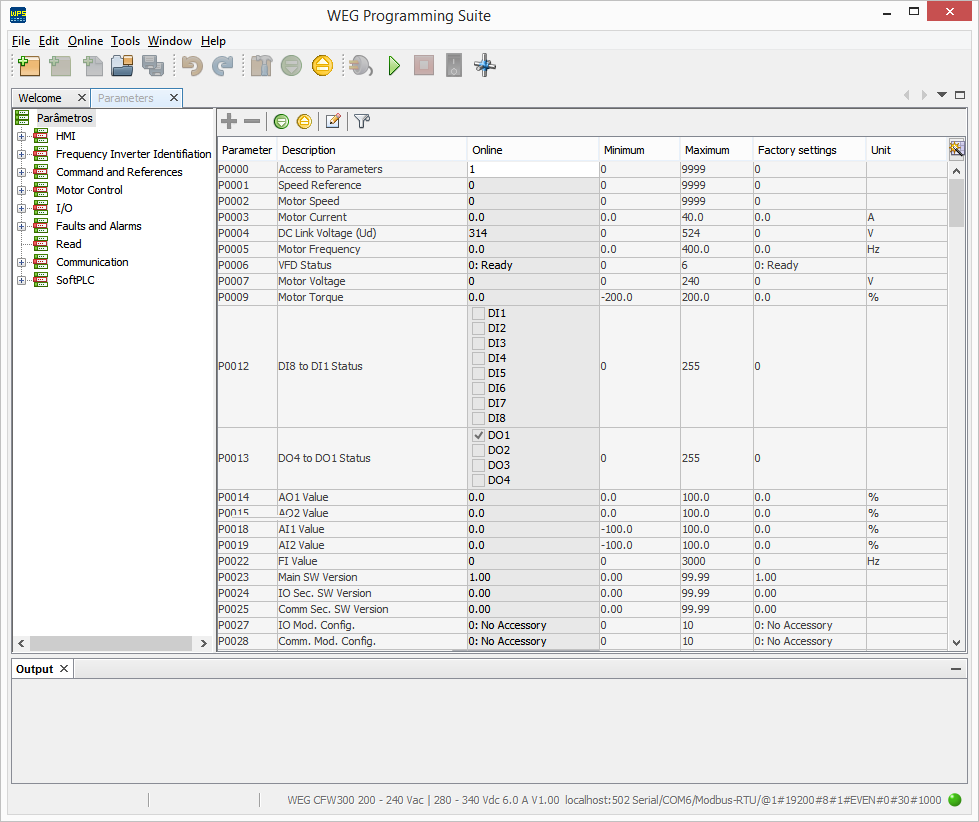
5) Monitoring in Progress
A window containing all the parameters of the equipment is shown.
The Online field displays the real value of the parameters on the equipment, and most parameters allow modification. Reading parameters cannot be changed.
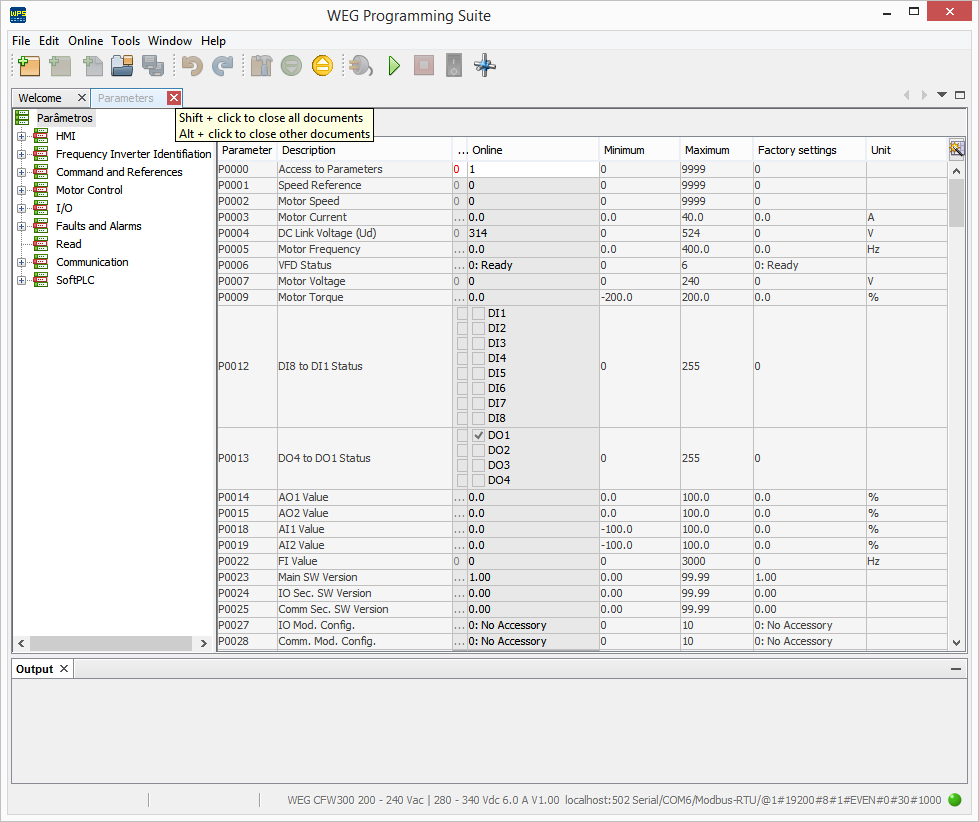
6) Close the Window
In order to end the monitoring, click the Close button in the window.
New Configuration
This creates a new configuration.
1) Function Selection
Click the New Configuration option.

From this step on, see Creating New Configuration for further details.
Open Configuration
It allows opening a configuration created previously.
1) Function Selection
Click the Open Configuration option.
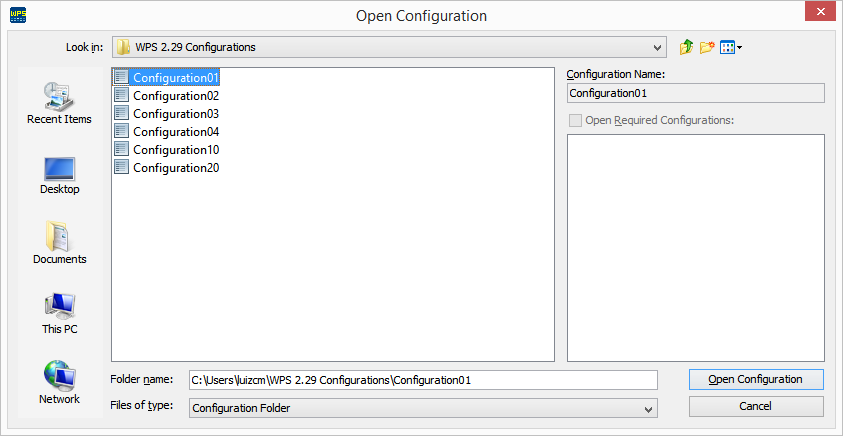
2) Open Configuration Window
All configurations are displayed in a window.
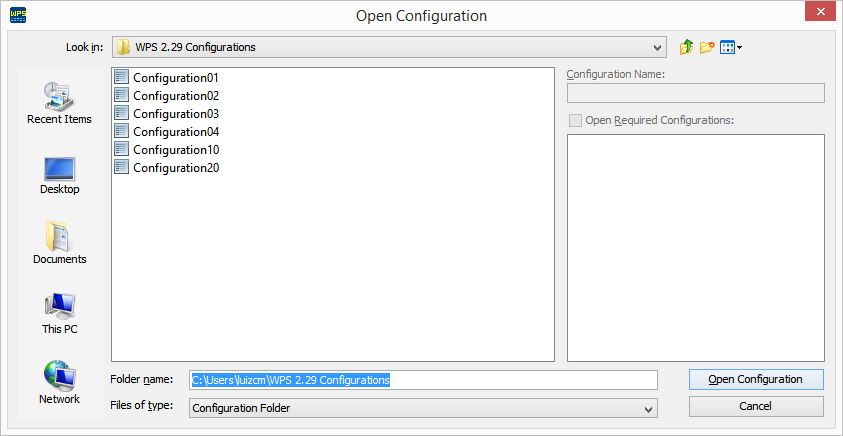
3) Configuration Selection
Select the desired configuration and click the Open Configuration button.
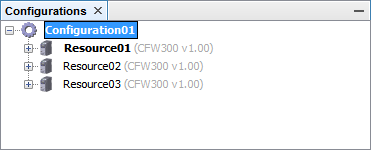
4) Configuration Window
At this moment, the configuration opens. In the configuration window, you can view the configuration and the resources that are part of the configuration.
Import Configuration
It imports a configuration previously generated by the WPS.
1) Function Selection
Click the Import Configuration option.
2) Import Window
Click the ... button in order to open the selection of the backup file containing the configuration that you wish to import.
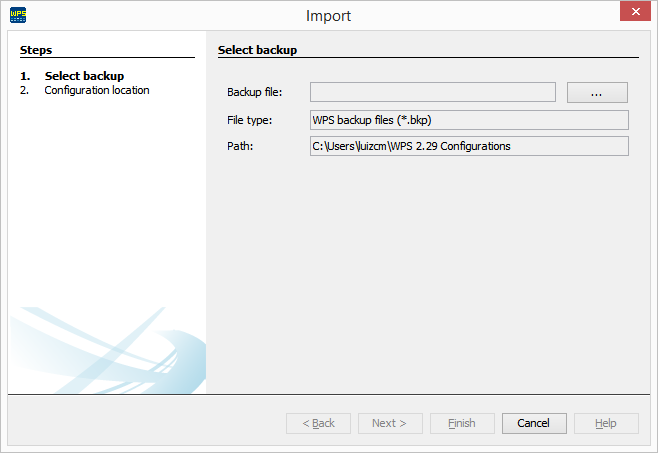
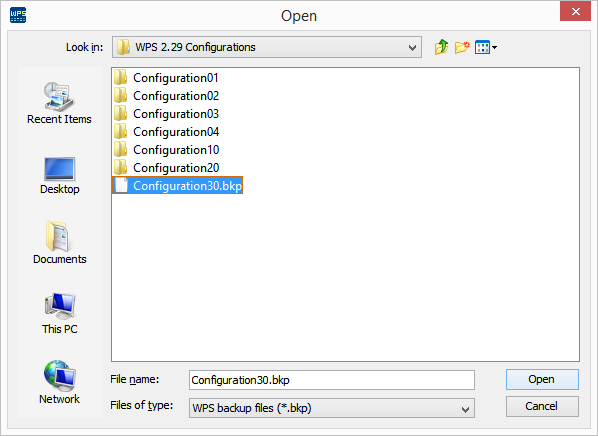
3) Backup File Selection
Select the file with the bkp extension that you wish to import and click Open.
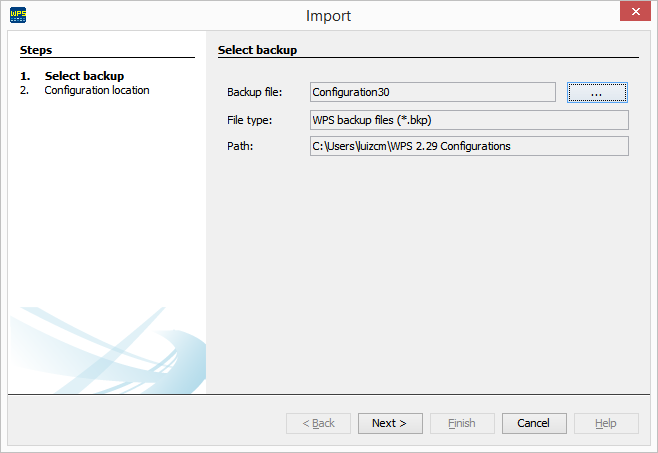
4) BKP file to Be Imported
The Backup File field is filled out with the file selected in the previous step.
Click Next to continue.
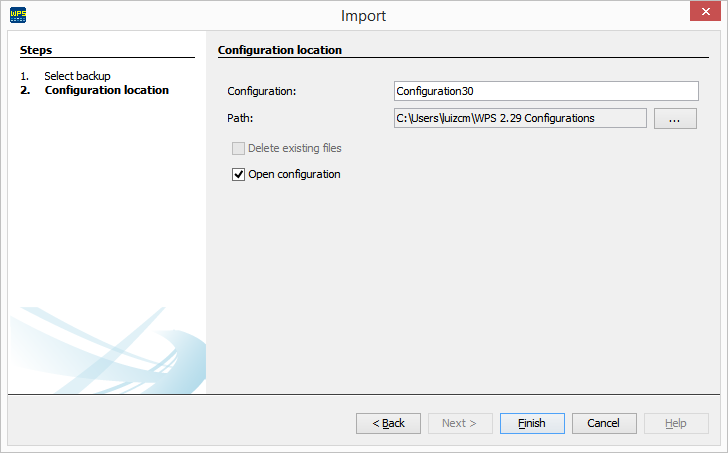
5) Configuration Location
Click Finish to import and end the wizard.
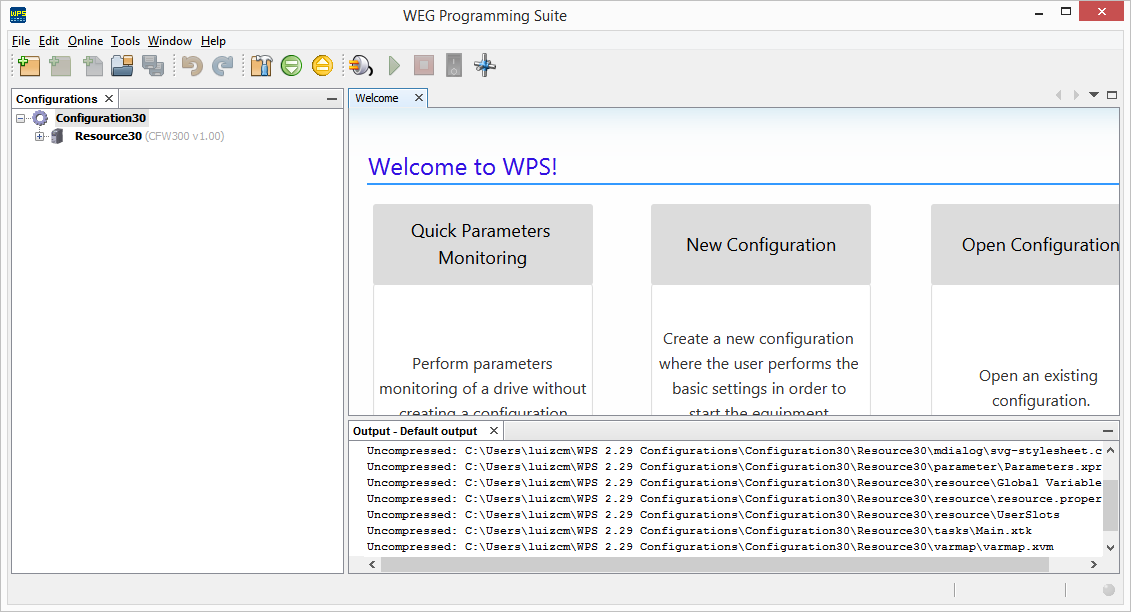
6) Imported Configuration
The imported configuration can be viewed in the output window.
In the configuration window, you can view the imported configuration and its resources.
Always Show Welcome Window Option
The Always show welcome window option allows the window to be displayed in the initialization of the WPS.
This option is in the lower part of the Welcome Window.
Uncheck this option if you do not wish to see the welcome window in the next initialization.
You can enable this option later in Help > Welcome.
