|
New Configuration - Online Equipment |
  
|
|
New Configuration - Online Equipment |
|
In the following example, we will create a configuration with the CFW300. The windows may be different if other equipments are configured.
CFW300
1) New Configuration Menu Item/Button
In the File menu, click New Configuration.

You can also use the keyboard shortcut (Ctrl+Shift+C) or the New Configuration button on the Toolbar: ![]()
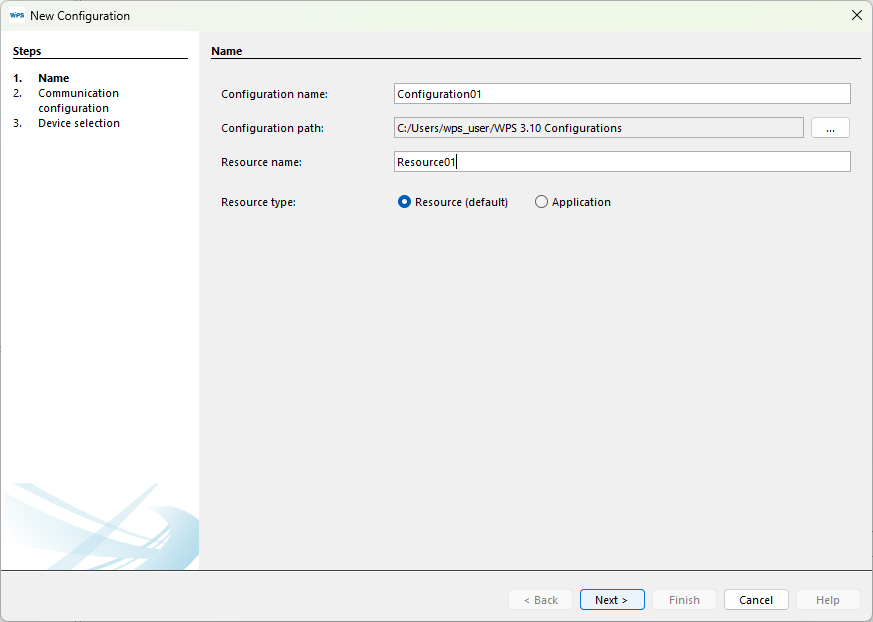
2) New Configuration Window
A window will pop up prompting you to enter the configuration name and the first resource to be created. Enter the names in the respective fields and click Next.
|
NOTE! This window allows you to create a Resource or an Application. Applications are restricted to specific product versions. Please consult equipment´s manual for more information about Applications. |
3) Communication Configuration
The next window defines the options for communication with the equipment.
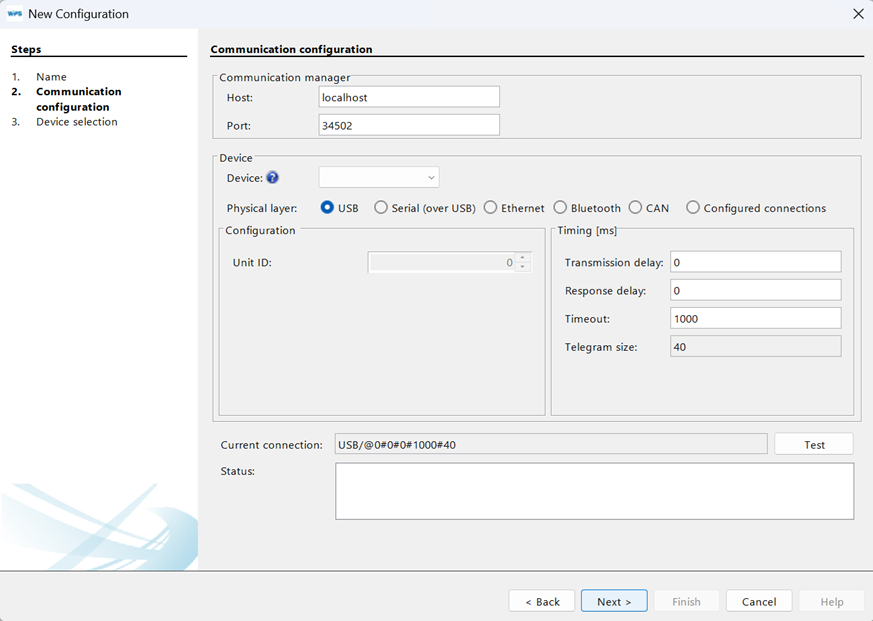
4) Select the Communication Options
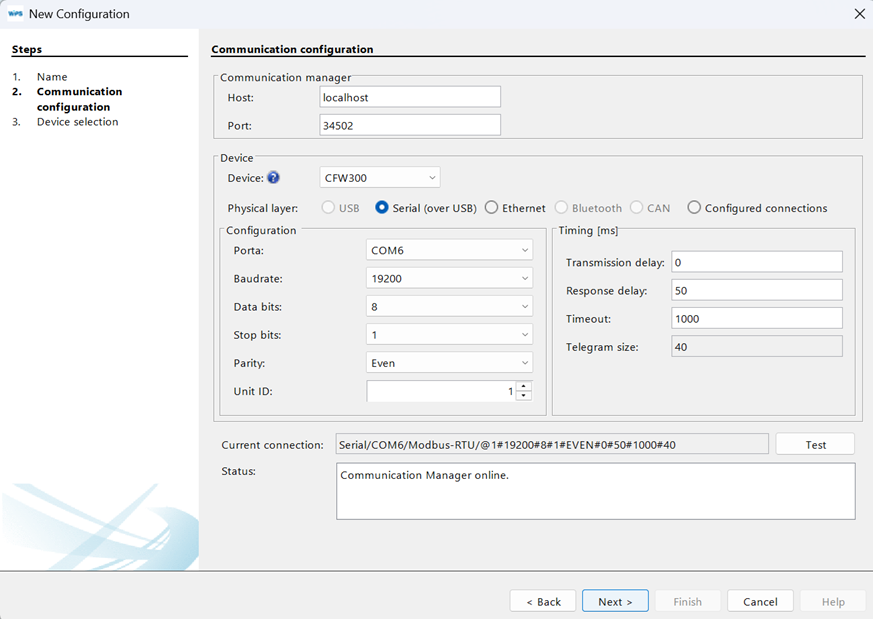
Choose the correct communication options.
If you select one equipment, the default configuration of the communication of the equipment will be loaded to the window.
Still, check that the window configuration is the same as of the equipment. If not, update this window according to the equipment configuration.
|
NOTE!
|
5) Testing the Communication
You can check if the communication is correct by clicking the Test button in this window.
The status field is refreshed. The connected equipment appears in the status field.
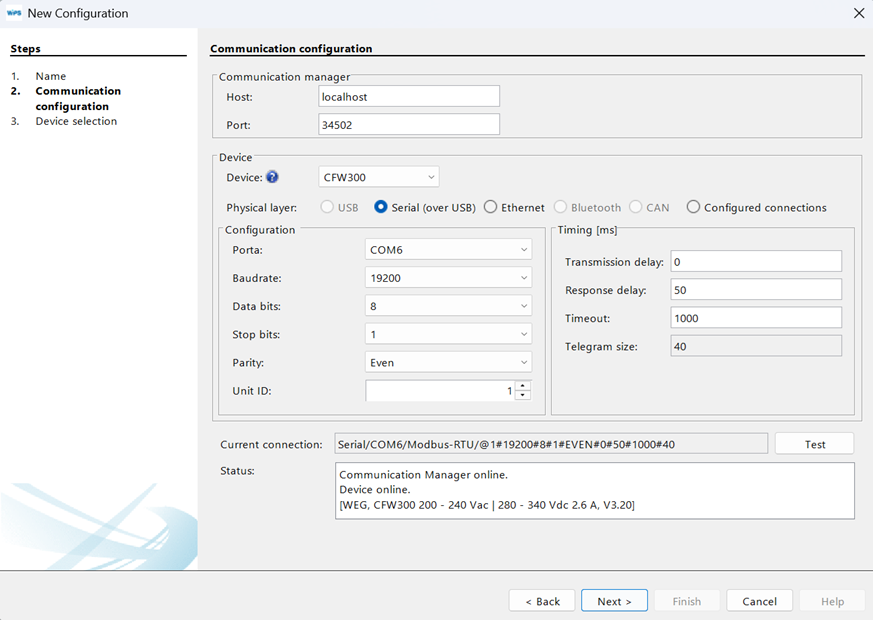
Then click Next.
6) Equipment Selection
The window shows the equipment that is connected to the resource that was created.
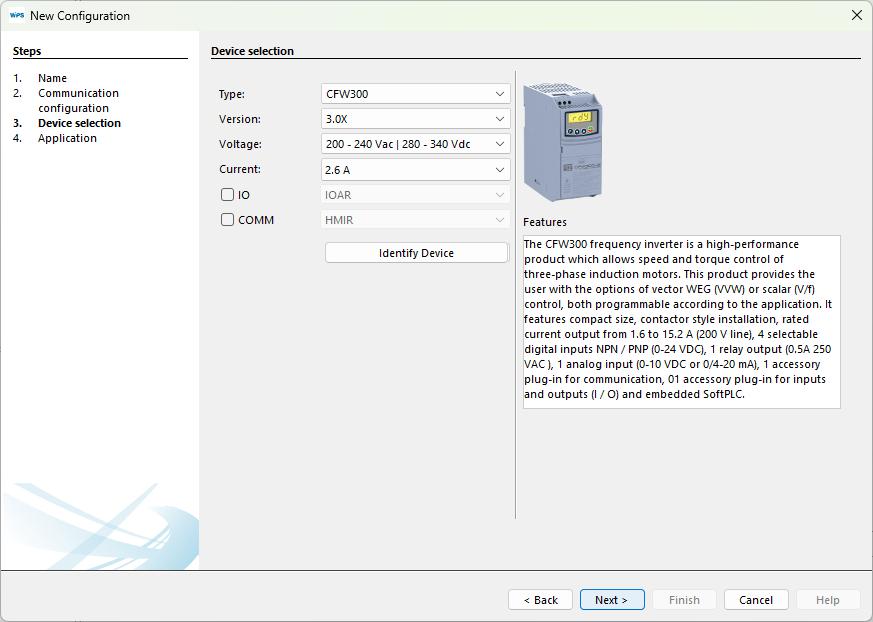
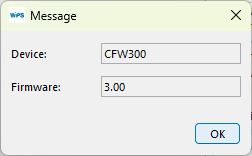
7) Read ID
If you click the Read ID button, a window containing the information on the equipment will open. Click OK to close it.
In order to go to the next step, click Next.
8) Import from WLP
A new window pops up enabling to import from the CFW100 a Ladder project developed on the WLP (WEG Ladder Programmer).
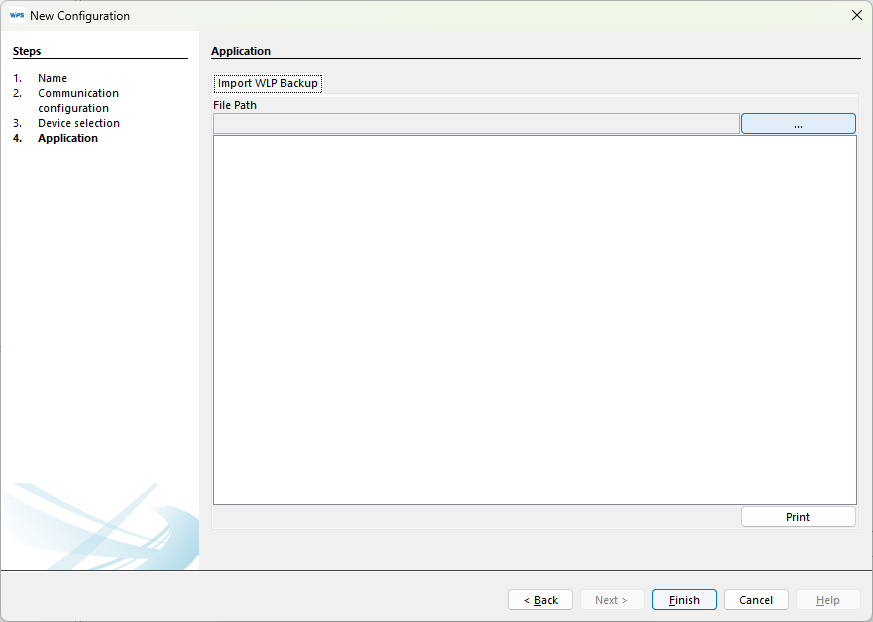
Click Finish to close the wizard.
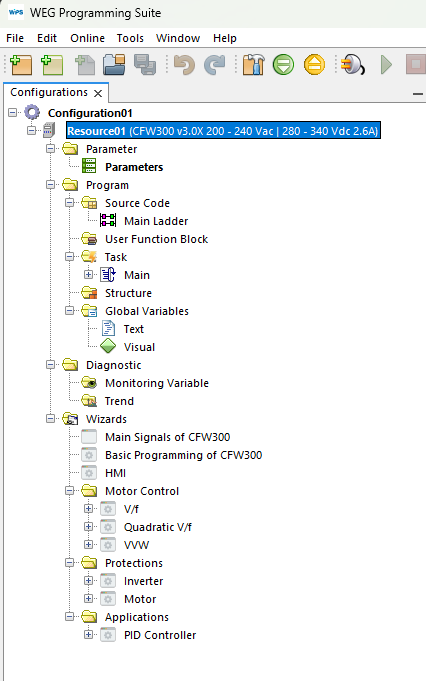
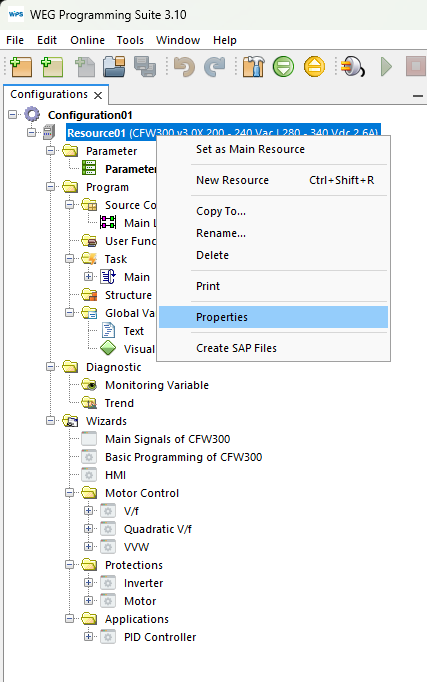
9) Configuration Tree
After those steps, the tree with the configurations should look like the following image.
10) Resource Properties
The settings made in the setup can be changed later in resource properties.
|
NOTE!
|